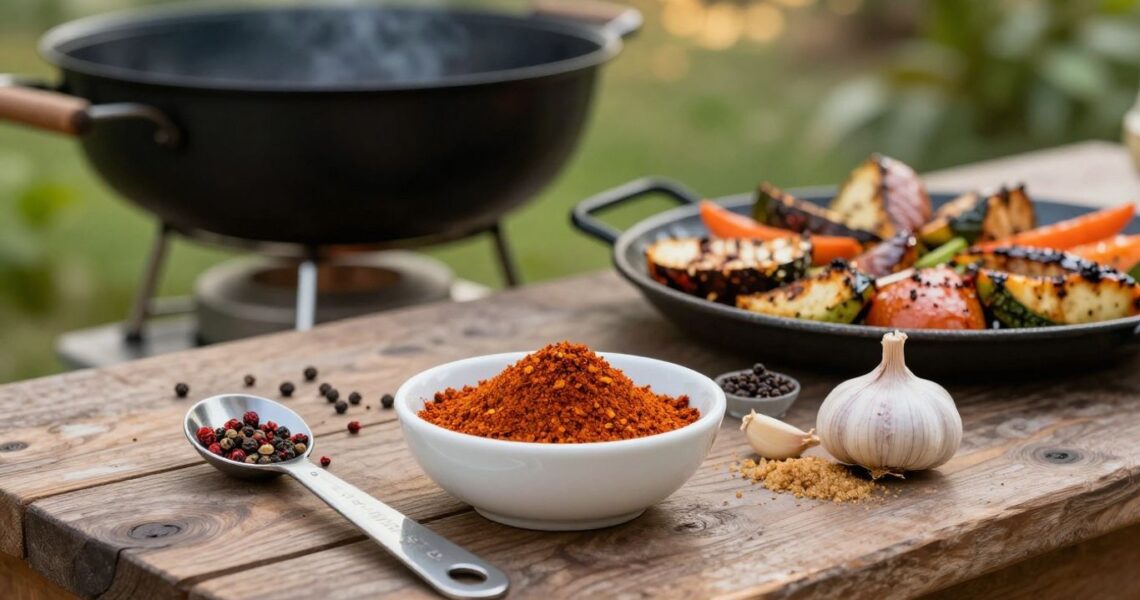
BBQ rubs made easy: A practical guide to mixing and using homemade blends
September 29, 2026Key Takeaways
A good BBQ rub is easy to mix once we understand how salt, sweetness, and spices work together. Start with a flexible base, then adjust it to suit the food and the heat of the grill.
- Build a simple blend from salt, sugar, and spices.
- Use fresh, aromatic ingredients and check seasoning-blend labels.
- Begin with a ratio, then adjust small batches to taste.
- Apply an even coating and manage sugar over high heat.
- Store blends dry, labelled, and away from heat and light.
Understand what makes a BBQ rub work
A rub is a straightforward way to season food before it meets the grill, smoker, or oven. We can keep the blend simple and still build plenty of flavour by balancing savoury, sweet, warm, and spicy notes. Once we know what each part does, bbq rubs made easy becomes a practical approach rather than a fixed recipe.
How dry rubs season meat
A dry rub coats the surface of meat with salt and spices, giving the outside a seasoned layer as it cooks. Salt dissolves in the moisture on the surface, while spices contribute their own aromas and flavours; the exact result depends on the blend and cooking method. We can think of the rub as a surface seasoning, not a shortcut that flavours every part of a thick cut equally.
How rubs differ from marinades and sauces
A rub is dry when we apply it, while a marinade is a wet mixture that can include liquids such as oil or vinegar. A sauce is usually added during cooking or served alongside the food, so it can bring a different texture and a more concentrated finish. We can use these approaches together, but it helps to know which one is doing what: seasoning the surface, adding a wet coating, or finishing the cooked food.
When to apply a rub before cooking
For a quick cook, we can season shortly before the food goes on the heat and let the coating sit while the grill warms. Larger cuts can be seasoned earlier and kept chilled; how far ahead depends on the cut, the amount of salt, and the recipe. If we are unsure, applying the rub while we set up the cooker gives it a little time to cling without turning prep into a rigid schedule.
Stock a simple rub-making pantry
We do not need a cupboard full of specialist ingredients to make a useful BBQ rub. A small set of familiar spices gives us room to make a balanced base, then shift it towards smoky, sweet, savoury, or hot. We can add more variety over time as we discover what we reach for most often.
Build a base with salt, sugar, and spices
Salt helps season the food, sugar brings sweetness and can encourage browning, and spices give a rub its distinctive character. Paprika, black pepper, garlic powder, and onion powder are handy starting points; chilli powder or dried herbs can come in when we want a particular direction. We can keep the pantry flexible rather than buying every ingredient at once.
Choose fresh spices for stronger flavor
Ground spices gradually lose their aroma, especially when stored near heat, light, or moisture. Before mixing, we can open each jar and smell it: a clear, familiar aroma is a better sign of flavour than simply relying on how long the jar has been in the cupboard. A few quick checks help us decide what to use first:
- Choose spices with a distinct aroma, not a dusty or faint one.
- Check that powders are loose rather than damp or heavily clumped.
- Buy modest amounts of less-used spices so they do not sit forgotten.
- Keep frequently used jars away from the stove and steam.
A spice that smells muted will usually add less character to the finished blend, so replacing the key ingredients can make more difference than adding extra quantities of tired ones.
Check labels for salt and sugar in seasoning blends
Ready-made seasoning mixes can be useful, but their ingredients vary. We should read the label before adding one to a homemade rub, especially when the mix already contains salt or sugar. That simple check helps us avoid stacking the same flavour element twice and makes it easier to adjust the final seasoning deliberately.
Mix a balanced all-purpose BBQ rub
A dependable all-purpose rub should be easy to remember and simple to tailor. We can start with a ratio rather than treating a recipe as the only correct version, then make a small batch and tune it to our taste. The balance matters more than the number of ingredients.
Start with a reliable spice ratio
As a starting point, we can use parts rather than fixed quantities: two parts paprika, then one part each of salt, brown sugar, black pepper, garlic powder, and onion powder. The table gives us a compact base to work from; a “part” can be a teaspoon, tablespoon, or another scoop, as long as we use the same measure throughout.
| Ingredient | Starting amount | What it brings |
|---|---|---|
| Paprika | 2 parts | Colour and a mild pepper flavour |
| Salt | 1 part | Savoury seasoning |
| Brown sugar | 1 part | Sweetness and browning |
| Black pepper | 1 part | Warm, sharp spice |
| Garlic and onion powders | 1 part each | Savoury depth |
This is a framework, not a rule. We can reduce the salt if the food is already seasoned, or hold back some sugar if the rub will face direct, high heat.
Measure ingredients for consistent results
Measuring each ingredient makes a blend easier to repeat and adjust. We can use level spoonfuls for a small batch, or a kitchen scale when we want to make a larger amount with consistent proportions. Keep notes on any changes, even brief ones, so a version we like is simple to make again.
Combine and taste the blend before using it
Stir the dry ingredients until the colour looks even and no clumps remain. We should taste a tiny pinch of the mixture, keeping in mind that dry seasoning can seem more intense on its own than it will on food. If we want to check the balance more fairly, cook a small piece of food with a light coating, then adjust the blend before seasoning the rest.
Customize the flavor for your cooking style
The same base can lean in several directions without becoming complicated. We can change one element at a time, which makes it easier to understand what an adjustment actually does. The food and the cooker both matter: a rub for a quick sear may need a different balance from one intended for a long smoke.
Add heat with chile powders and pepper
For a warmer blend, we can add cayenne, chilli powder, or extra black pepper in small increments. Different chilli powders vary in heat and flavour, so it is sensible to begin with less than we think we need and taste a cooked sample. Pepper brings a sharper, more direct bite, while chilli can add heat alongside other earthy or fruity notes.
Adjust sweetness with sugar or sugar-free options
Brown sugar adds sweetness and can help create a browned surface, but we do not have to include it. For a less-sweet blend, reduce or omit the sugar and let paprika, pepper, garlic, and onion carry the flavour. We can also try a sugar-free mixture built around spices and herbs, keeping an eye on how it behaves over high heat.
Match spices to pork, chicken, beef, or vegetables
We can steer the base towards the food instead of making a separate elaborate recipe for every meal. Mild spices and a little sweetness pair well with many pork and chicken preparations, while beef can take a more pepper-forward blend. Vegetables are often good with paprika, garlic, pepper, and herbs; a light coating of oil can help dry seasoning cling to their surfaces.
Account for salt when using a store-bought blend
A pre-mixed seasoning can already contain salt, sugar, or both, so we should check its ingredient list before combining it with our own ingredients. Use less added salt at first, then taste the cooked food and adjust next time. A small test batch is the easiest way to learn how a particular blend behaves without committing the whole meal to it.
Apply the rub for better flavor and texture
Good application is about even coverage, not piling seasoning onto the food. We can adjust how much we use for the cut and cooking method, while keeping the surface as dry as practical. A little attention at this stage helps the rub stay in place and lets the food develop a well-seasoned exterior.
Pat food dry before seasoning
Moisture on the surface can make a dry rub clump or slide off. We can pat meat dry with clean paper towel before seasoning, then apply the blend with clean hands or a spoon. For vegetables, we can dry washed pieces well and use a small amount of oil if needed to help the seasoning adhere.
Use enough rub without creating a heavy crust
We want a light, even coating across the surface rather than a thick blanket that hides the food underneath. Sprinkle from a little height and turn the pieces as we go, checking the sides and edges. If a large cut has bare patches, add a little more there instead of automatically adding another full layer everywhere.
Adapt application for grilling, smoking, or oven cooking
The way we apply a rub can stay much the same, but the cooker changes how we manage the food. These simple cues help us make the adjustment without changing the whole blend:
- For grilling, season evenly and watch sugary coatings closely over direct heat.
- For smoking, coat all exposed sides and allow time for the surface to take on the seasoning.
- For oven cooking, use a tray or rack suited to the food and avoid letting loose spices burn on the pan.
- For vegetables, season pieces evenly so smaller edges do not end up over-seasoned.
We can use these as starting points, then pay attention to the food as it cooks. Heat level, cut size, and the distance from the heat source all affect how quickly the outside browns.
Manage sugar to prevent scorching over high heat
Sugar can darken quickly over intense direct heat, so a sweet rub calls for a little extra attention on the grill. We can reduce the sugar, move the food to a cooler part of the grill if the surface is colouring too fast, or choose a less direct cooking setup. A deeper colour is not automatically a problem, but blackened patches and a bitter smell are signs to adjust the heat or timing.
Store homemade rubs and solve common problems
Homemade blends are simple to keep on hand when we protect them from moisture and remember what is in each jar. We can mix only what we expect to use, rather than preparing a large batch that sits unused. A few basic habits also make it easier to spot when a blend needs replacing or adjusting.
Keep blends dry in airtight containers
Transfer the finished rub to a clean, dry container with a tight-fitting lid. Store it in a cool cupboard away from sunlight, steam, and the heat of the cooker, and use a dry spoon when measuring. If moisture gets into a jar, the blend may clump, so we should check its condition before using it.
Label jars with ingredients and mixing dates
A short label saves guesswork later. We can note the main ingredients, any adjustments to the base ratio, and the date we mixed the batch. This is especially helpful when we have several blends that look similar or when we want to recreate a version that worked well.
Refresh spices that have lost their aroma
If the blend smells faint or stale, adding more of the same tired spices is unlikely to bring back a lively flavour. We can replace the spices that make up most of the mix, then prepare a small fresh batch. When only one ingredient seems flat, refreshing that spice and mixing a test portion can be enough.
Correct rubs that taste too salty, sweet, or spicy
We can usually bring an unbalanced blend closer to our liking by diluting it with unsalted spices, rather than trying to remove an ingredient already mixed in. A small test portion makes the adjustment easier to judge. If a batch tastes too salty, sweet, or hot, we can try one of these approaches:
- Too salty: add more paprika, garlic powder, onion powder, or other unsalted spices.
- Too sweet: add unsweetened spices and leave out further sugar.
- Too spicy: dilute with a mild base blend and avoid adding more chilli or pepper.
- A little flat: add a small amount of a fresh aromatic spice, then taste again on cooked food.
Change one thing at a time and keep a note of the result. That way, we can rescue a blend where practical and make the next batch closer to the flavour we want.
Conclusion
A homemade BBQ rub does not need a long ingredient list or a complicated method. When we start with a balanced base, use fresh spices, and adjust for the food and cooking heat, we can make a blend that suits the meal and is easy to repeat. Keep the first batch modest, taste as we go, and let experience shape the next one.